Monday, June 11, 2012

Pineapple Peanut Butter Stew

Yeah, the title sounds funny but when you try this dish it will knock your socks, or flip flops, off!  I have been making this for 12+ years and it hasn't gotten old.  I also don't remember where I got the recipe and I'm sure it has changed over time.  One of the best things is that this takes less than 20 minutes to make so it's a wonderful week night side or main dish.  And best of all my two year old loves it!

Saturday we spent the cool part of the morning at the farm picking veggies, then went to Broom's Bloom Dairy for some wonderful local ice cream.


I brought home enough swiss chard to make this stew but you could also make it with kale.  That bucket is full of kale and night by night it is dwindling down as I make batch after batch of Kale Chips.

Here's the recipe:

Ingredients:
1 onion, chopped
1-3 cloves garlic, diced
14 oz can of crushed pineapple
2 bunches of swiss chard, about 1/2-3/4 lb
1/2 c crunchy natural peanut butter
1 tsp. chili sauce, like sriracha (optional)
1/4 c. chopped cilantro (optional)


In a large pan saute the onions in olive oil for 3-5 minutes, do not brown.  Add garlic and cook 30 seconds.  Add swiss chard (or other greens), whole can of pineapple with it's juice and the peanut butter.  Cover and let steam 5 minutes.


Uncover and stir in chili sauce if you are using it.  Taste the greens to make sure they are the texture you like them.  If not cook for a few more minutes covered.  Serve with cilantro on the side and top as needed.   


You can use almost any green with this recipe but the tougher ones will need to be steamed a little longer to soften them up.  I've used swiss chard, kale, and collard greens.  Don't worry about them being bitter because the pineapple and peanut butter take care of that.

We often eat this as a main dish and will sometimes just add extra firm tofu cubes to round it out a bit.

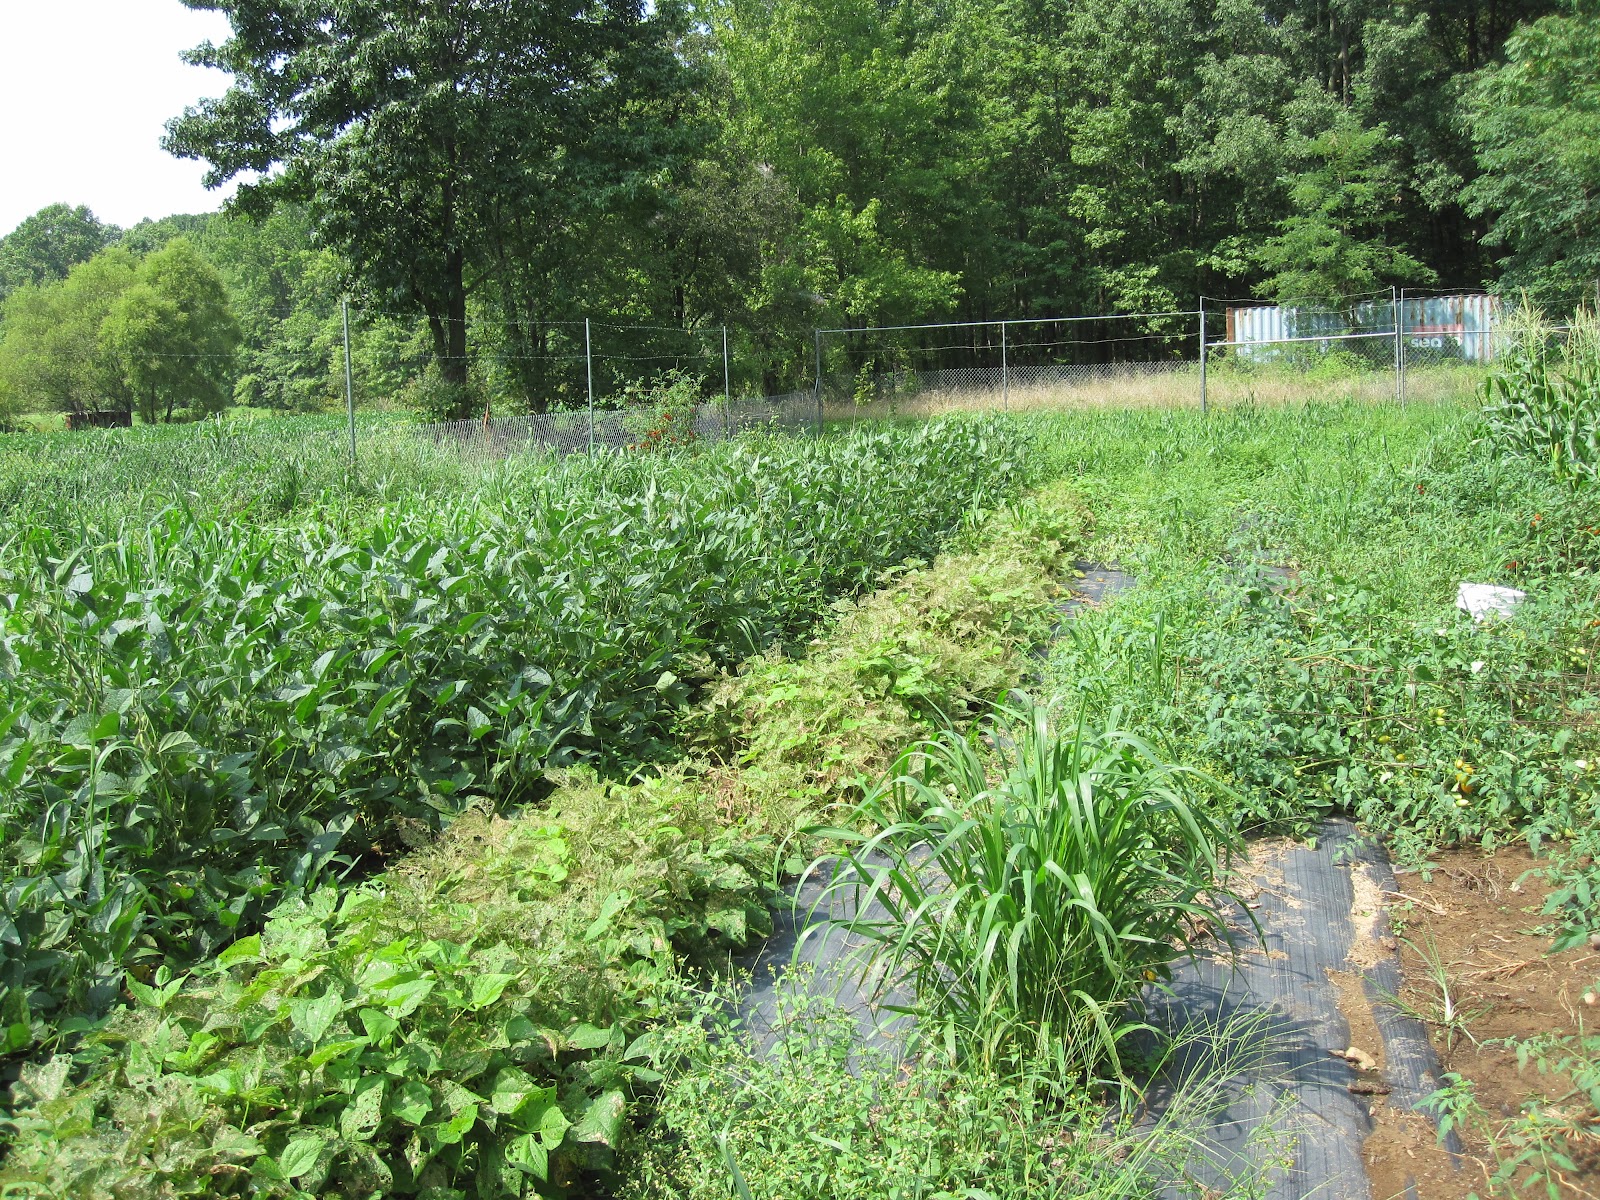
The main field at the farm is growing some nice soybeans too:


I wish you enough!

Tuesday, May 22, 2012

Memere's Banana Bread

This recipe came from my grandmother and the smell of it baking always reminds me of her.  We called her Memere and she was an amazing, strong, beautiful woman, who also happened to be a great cook and cooked for 14 kids for years.  Talk about planning!  I always wonder how she did it and she must have been amazing at time management, planning, and delegation of duties.

So you start with some VERY ripe bananas, the browner the better because they are much sweeter at this point.  The bananas in the picture below are not near ripe enough, but they sure are pretty.


I started making this tonight and found I didn't have two eggs so I replaced one egg with a mix of 1 Tbsp ground flax seed and 3 Tbsp of water and let it sit for two minutes before adding it to the mix.  This is the first time I've done this and it actually worked really well in this recipe.  I will definitely try it more in the other recipes.  Such a bonus to add a little extra nutrition to baked goods.

Recipe:
Preheat oven to 350 degrees

In a large bowl mix:
1/2 cup veggie oil (Memere used melted shortening)
2 eggs or substitute
1 cup mashed banana, about 2 bananas
3/4 cup sugar
1 tsp vanilla

Mix until well combined then add:
2 cups all-purpose flour, unbleached
1 tsp salt
1 tsp baking powder
1 tsp baking soda

Mix all ingredients until it just comes together.  Then add any extras you might like including any of the following:
chocolate chips
coconut
pineapple
any other fruit, strawberries make it very pretty but a little more moist than I like.

Place in a loaf pan and bake 45-60 minutes.  You can make muffins, or small loaves of this too without problem but you will need to adjust baking time.  I've made the following with approximate times:
mini muffins: 15-20 minutes
mini loaves: 20-25 minutes
cupcake size: 20 minutes


You will love how this smells and more importantly how it tastes.  Make sure to eat some warm with a little butter and you will be in heaven.

I wish you enough!

Friday, May 11, 2012

Hardy Kiwi

If you follow my gardening posts from year to year, it seems like I always have some sort of project.  Last year was the Chile Verde and hot pepper relish projects and the year before that the pickle project.  


This year I am taking on something way more permanent:  Hardy Kiwi vines.  They are supposed to be pretty easy to grow since they are vines, but they need lots of pruning and attention and an amazing trellis.  We are looking ahead here about 3-5 years for fruit and I am so excited to try one... it's hard to wait for fruit plants to bear!!!

So far this amazing trellis was built by my FIL and Husband:


And three vines (2 female, 1 male) have been planted and watered:


 So now we wait and help them grow straight and tall and strong, then start pruning and loving them.  And hoping that these things taste REALLY good!  Each plant is supposed to bear 100 lbs. of fruit, so if that happens make sure you check your doorstep in the fall for little kiwi packages.


Other farm happenings include a fig that's not doing great, but don't worry I have propagated five more from this guy to be planted soon.  Heaven forbid we have a shortage of figs in the next few years.  I am spoiled!


And we may even get some plums this year!  I think this tree has been planted for three years???


I wish you enough!  (fruit)


Wednesday, May 2, 2012

Harvesting Dates

Tonight my 2 year old and I made these wonderful blueberry muffins and I started dreaming of berry picking and harvesting veggies this summer.


So I looked up the local pick-your-own farms near Baltimore and came up with this short list to keep us on track for yummy food.  If your anything like me you would be devastated to miss blueberry picking.

Strawberries:  Mid-May
Other Berries: late June-July
Peaches: July
Apples: Aug, Sept, Oct, Nov

As for where to go picking near Baltimore:
Larriland Farm: 2415 Woodbine Rd, 21797, 410-442-2605
Spring Valley: 724 Conowingo Rd, 21918, 410-378-3280
Hubers Farm: 12208 Old Philadelphia Rd, Baltimore, 410-679-4018


There are places all over Maryland and they can be found at this website http://pickyourown.org/MDbalt.htm#listings#listings along with information about each place.  Looks like you could pick pretty much whatever you need as long as it's in season.

Here is the recipe for the Blueberry Muffins:

Preheat oven to 400 degrees.

In a large bowl mix:
1 1/2 c. unbleached all purpose flour
1/2 c. yellow cornmeal
1/2 c sugar
1 1/2 tsp baking powder
1/2 tsp baking soda
1/4 tsp salt
1 c. frozen blueberries

In a separate bowl mix:
1 c. low-fat buttermilk or substitute 1 cup milk with 1 Tbs lemon juice
3 Tbsp melted butter
zest of one lime
1 egg, lightly beaten

Add them together and mix until just moist.

Spoon into greased or paper lined muffin tin and bake 15-20 minutes.  I made 48 mini muffins and it only took 15 minutes to finish baking.  So if you use a bigger muffin tin it may take longer.  They are done when lightly browned on top and a wood toothpick comes out clean.

Enjoy.  I plan on freezing most of these for  the next time I NEED muffins.  Yummy.  And soon I will pick my own blueberries to enjoy by the fist full.

I wish you enough!


Thursday, April 26, 2012

2012 Garden

The gardening has begun.  The amazing temperatures this winter and spring allowed for early planting but we are on the same schedule as any other year so far.  We carry buckets of water to water the garden and don't usually have to do much of that in the spring, until this year.  So the last couple days of rain have been welcomed for sure.  So far we have planted about 1/2 the garden and are gearing up for the warm weather plants.


So far there are strawberries, potatoes, cabbage, kale, swiss chard, shallots, onions, leeks, turnips, beets, and garlic.


I frequently dream about and crave raw kale salad and kale chips so I am super excited to pick it from my own garden and make these when the kale is still warm from the sun.

I don't however dream about pulling the weeds that all this lovely rain is helping grow...

More to come.

I wish you enough!

Wednesday, March 7, 2012

Fabric Sling Book Case

I've been searching for a cute way to display books in my little girl's room.  I wanted something that she could easily move books in and out, something that looked cute and that was generally easy to make or inexpensive.  Ah ha!  I found this wonderful tutorial to make a fabric sling book case.

I used this fabric that I bought at Joann's:


Then bought the hardware and rods, sewed the sling, and voila' a book case!  Thanks to my wonderful hubby who hung it for me.


The breakdown:
Fabric $6
Dowel $3
Double rod hanger $6
Total $15
Time 1 hour
Tutorial

I love it!  and want to make more, I just need to figure out where I would hang them...

I wish you enough (books)!

Monday, February 27, 2012

Cake Decorating Class

A friend of mine and I took a cake decorating class through Michael's over the last month.  I learned some cute things and am excited to practice for the next holiday.  Here is a little glimpse of what I made in class:

Valentine's Day Cupid Cake


Flower Cupcakes


Final Project


I wish you enough (cake)!